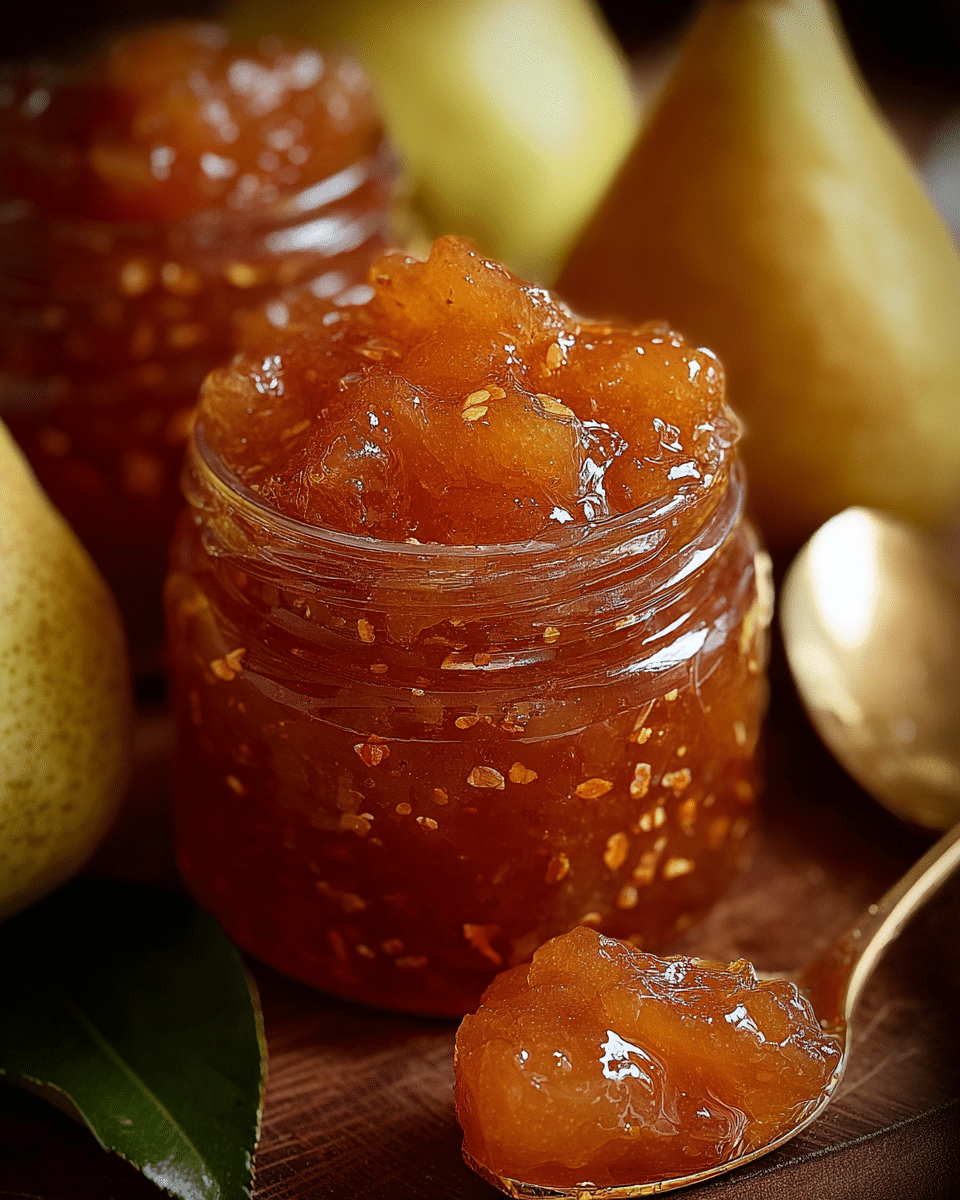
Tired of store-bought preserves that taste artificial and overly sweet? As a home preserving enthusiast, I’ve discovered that homemade pear preserves are the secret to unlocking truly magical flavors in your kitchen. Hi, I’m Emma, the heart behind GusRecipes, and I’m thrilled to share how these golden, sweet preserves can transform your breakfast toast, desserts, and even savory dishes in just minutes of active preparation.
My journey with pear preserves began during a fall harvest when my neighbor’s tree produced more fruit than they could handle. What started as a simple preservation project became a passion that’s now shared with thousands of home cooks. In this guide, I’ll walk you through selecting the perfect pears, a foolproof preparation method, creative serving ideas, and answers to your most common preserving questions.
Why These Pear Preserves Work Wonders in Minutes
- Uses seasonal pears at their peak ripeness for maximum natural sweetness
- Requires just 20 minutes of active preparation time (the rest is hands-off simmering)
- Creates versatile preserves perfect for breakfast, cheese boards, or baking
- Stores beautifully for months, capturing summer sweetness for winter days
- Uses simple ingredients you likely already have in your pantry
Choosing the Right Pears for Homemade Preserves
Best Pear Varieties for Preserves
Bartlett pears shine in preserves thanks to their perfect balance of juiciness and structure. They break down just enough during cooking while maintaining identifiable pieces. Bosc and Anjou pears work wonderfully too, offering slightly different flavor profiles – Bosc brings a more honey-like sweetness, while Anjou offers subtle spice notes.
Ripeness Guide for Pear Preserves
The ideal pear for preserves is just shy of being perfectly ripe for eating. Look for fruit that yields slightly to gentle pressure at the stem end but isn’t completely soft. This ensures your preserves have structure and don’t become mushy.
Seasonal Buying Tips
Late summer through fall brings the freshest, most affordable pears. Farmers’ markets often offer “seconds” (slightly blemished but perfectly good pears) at reduced prices – ideal for preserves since appearance doesn’t matter once cooked.
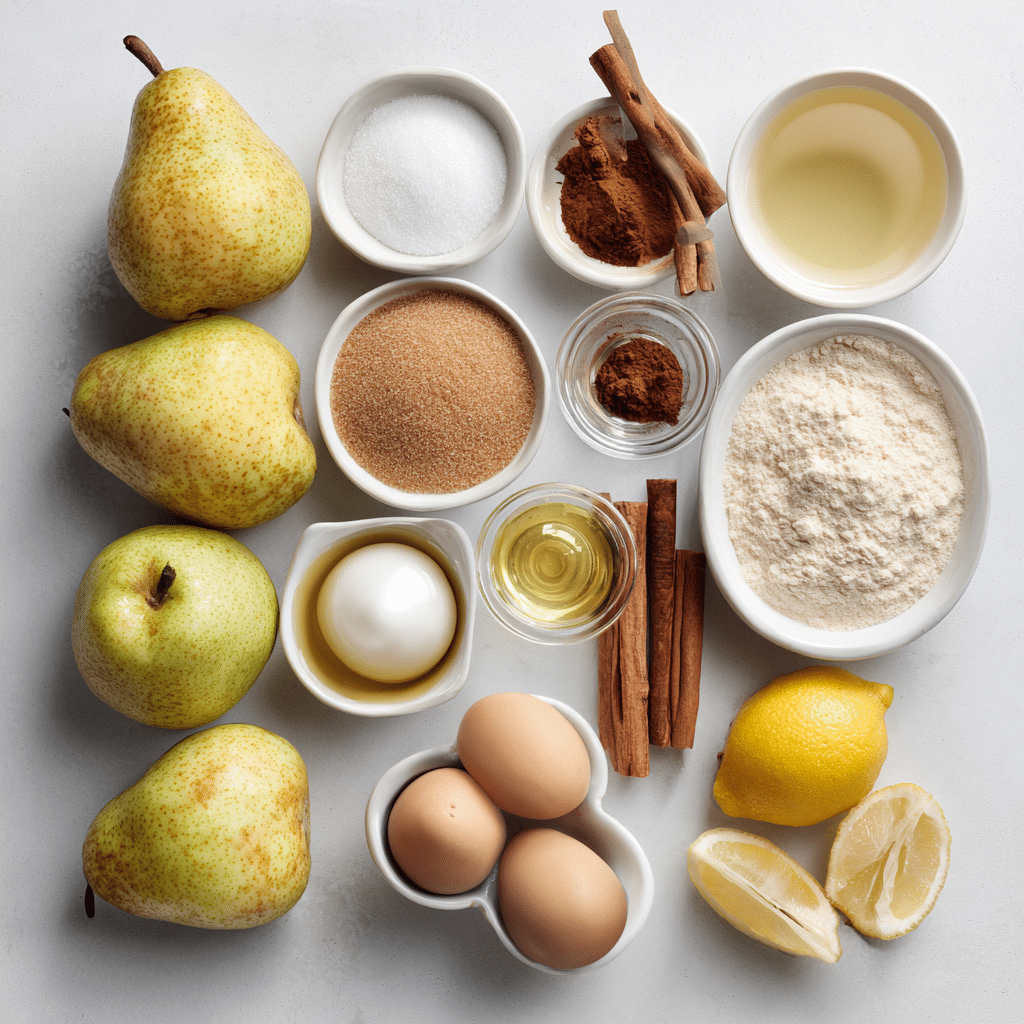
Ingredients & Prep for Perfect Pear Preserves
Essential Preserve Ingredients
- Pears – 3 pounds, washed, cored and chopped into 1/2-inch cubes
- Granulated sugar – 2 cups (adjustable based on pear sweetness)
- Fresh lemon juice – 3 tablespoons (prevents browning, adds pectin)
- Vanilla bean – 1 pod, split (optional but magical flavor enhancer)
- Cinnamon stick – 1 large stick (complements pear’s natural sweetness)
- Star anise – 2 pods (optional for subtle licorice notes)
- Water – 1/4 cup (just enough to prevent sticking)
Preparation Essentials for Pear Preserves
For perfectly textured preserves, decide whether you prefer smooth or chunky results. For chunky preserves (my personal favorite), cut pears into 1/2-inch cubes. For smoother preserves, chop into 1/4-inch pieces.
The lemon juice isn’t just for flavor it prevents browning and provides natural pectin that helps your preserves set properly without commercial additives.
Step-by-Step Pear Preserves Cooking Instructions
Pre-Cooking Pear Preparation
- Wash, peel, core, and chop pears into your desired size pieces
- Toss immediately with lemon juice in a large, non-reactive pot to prevent browning
- Add sugar and stir until pears begin releasing their juices, about 10 minutes
Cooking Method for Pear Preserves
- Add remaining ingredients to the pot and bring to a gentle boil over medium heat
- Reduce heat to medium-low and simmer, stirring occasionally for 45-60 minutes
- The preserves are ready when they’ve thickened and turned a rich amber color
- Test doneness by placing a small amount on a chilled plate – it should wrinkle when pushed with your finger
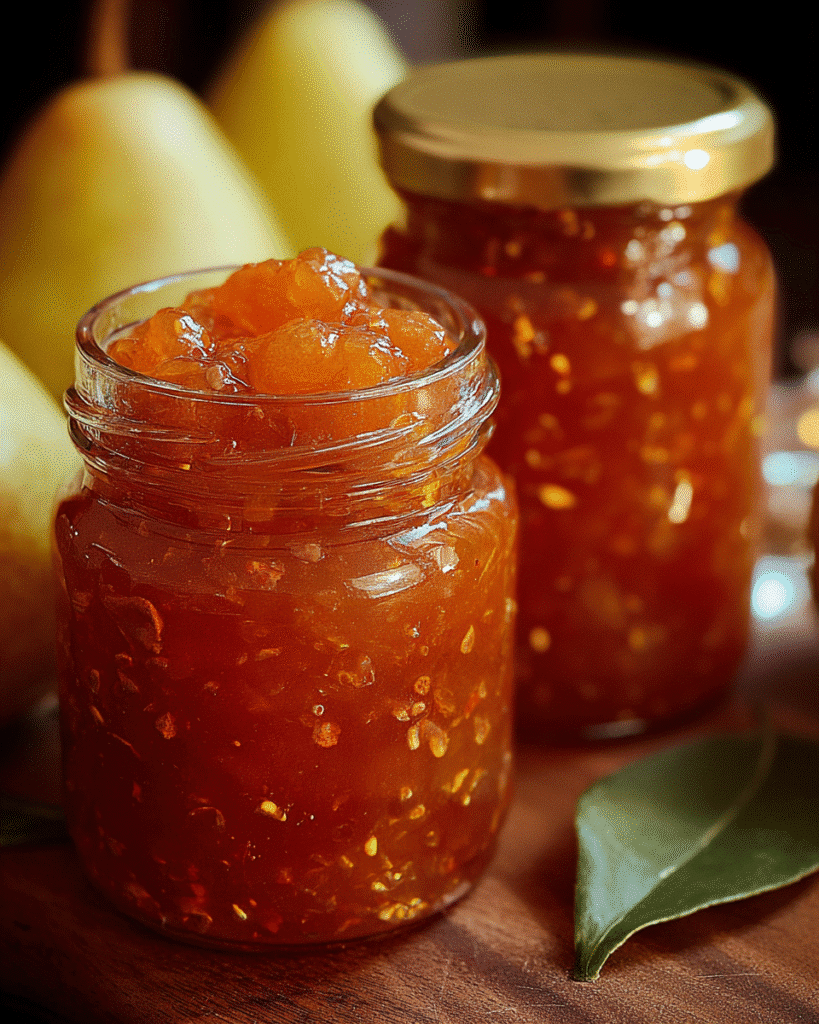
Jarring Your Pear Preserves
- While preserves cook, sterilize mason jars in boiling water for 10 minutes
- Fill hot jars with hot preserves, leaving 1/4-inch headspace
- Wipe rims, apply lids, and process in a water bath for 10 minutes for long-term storage
Cooling and Setting
Allow your sealed jars to cool completely on a towel-lined counter for 24 hours. The preserves will continue to set during this time. Check seals before storing in a cool, dark place for up to 1 year.
Pro Tips for Perfect Pear Preserves
Preventing Crystallization in Your Preserves
Add 1 tablespoon of corn syrup to your recipe to prevent sugar crystallization during storage. Also, ensure sugar is completely dissolved before boiling begins.
Tool Recommendations for Preserves
A heavy-bottomed Dutch oven prevents scorching, while a candy thermometer helps achieve the perfect set (220°F at sea level). Wide-mouth canning funnels prevent messy spills during jarring.
Storage Secrets for Homemade Preserves
Properly sealed jars can be stored in a cool, dark pantry for up to 12 months. Once opened, refrigerate and use within 3 weeks. For gift-giving, decorate with fabric tops and twine for a personal touch.
Looking for more preservation inspiration? Check out my Pinterest collection of homemade preserves where I share seasonal recipes and beautiful presentation ideas!
Flavor Variations for Pear Preserves
Spiced Pear Preserves
Add 1/4 teaspoon each of ground cloves and cardamom along with the cinnamon for a warming holiday version. These spices create a preserve perfect for winter mornings.
Honey-Sweetened Pear Preserves
Replace half the sugar with raw honey for a more complex sweetness. The floral notes of honey beautifully complement the delicate pear flavor.
Citrus-Infused Pear Preserves
Add the zest of one orange along with the lemon juice for a bright, aromatic twist that pairs beautifully with scones and breakfast breads.
| Flavor Variation | Additional Ingredients | Best Pairings |
|---|---|---|
| Classic Vanilla | 1 vanilla bean | Morning toast, plain yogurt |
| Ginger Spice | 2 Tbsp fresh grated ginger | Cheese boards, ice cream |
| Cardamom Honey | 6 cardamom pods, 1/2 cup honey | Greek yogurt, oatmeal |
| Cinnamon Apple | 1 apple, 2 cinnamon sticks | Pancakes, waffles |
| Rosemary Infused | 2 sprigs fresh rosemary | Savory applications, cheese |
Serving Suggestions for Pear Preserves
Beyond the obvious toast application, pear preserves create magic in unexpected places. Warm slightly and drizzle over vanilla ice cream for an elegant dessert. Spoon onto a cheese board alongside sharp cheddar or creamy brie for a stunning appetizer. Use as a glaze for roasted chicken or mix with olive oil and balsamic for a unique salad dressing.
For breakfast, try stirring a spoonful into plain Greek yogurt with toasted nuts, or use as a filling between layers of French toast. The natural sweetness means you’ll need less added sugar in your morning routine.
FAQs About Pear Preserves
Can I reduce the sugar in pear preserves?
Yes, but with caution. Sugar acts as a preservative and helps with setting. You can reduce by up to 1/3, but the texture and shelf life may change. For significantly less sugar, consider a refrigerator version instead of canning.
How do I know if my preserves are properly set?
The cold plate test is reliable: place a small spoonful on a plate that’s been in the freezer for 15 minutes. If it wrinkles when pushed with your finger, it’s ready. If not, continue cooking for 5-10 minute intervals.
Can I use unripe pears for preserves?
Slightly underripe pears actually work wonderfully as they contain more pectin, helping your preserves set naturally. However, completely green pears lack flavor development and may require more sugar.
Conclusion
There’s something truly special about opening a jar of homemade pear preserves in the depths of winter and tasting that captured sunshine. The process connects us to generations of home cooks who preserved seasonal abundance long before modern conveniences.
I hope this guide inspires you to try making your own pear preserves. The active preparation takes just minutes, but the results will delight your family for months to come. Start with this basic recipe, then experiment with your own flavor combinations!
If you enjoyed this preservation project, you might also love my guides to apple butter, stone fruit jams, or citrus marmalades. The possibilities are endless when you unlock the magic of home preserving!
Print
How Pear Preserves Unlock Sweet Homemade Magic in Minutes
- Total Time: 1 hr 15 mins
- Yield: 4 half-pint jars 1x
Description
A classic homemade pear preserve that’s sweet, fragrant, and perfect for spreading on toast, spooning over yogurt, or gifting during the holidays.
Ingredients
4 cups peeled, cored, and sliced ripe pears (about 6 medium pears)
3 cups granulated sugar
1 tbsp lemon juice
1 tsp lemon zest
1/4 cup water
1/2 tsp ground cinnamon (optional)
Instructions
1. In a large, heavy-bottomed pot, combine the pears, sugar, lemon juice, lemon zest, and water.
2. Bring the mixture to a boil over medium heat, stirring until the sugar dissolves.
3. Reduce heat to low and simmer uncovered, stirring occasionally, until the pears become tender and the mixture thickens (about 45–60 minutes).
4. Mash some of the pears with a spoon or potato masher for a smoother texture, if desired.
5. Add ground cinnamon if using and stir to combine.
6. Once the preserves reach a jam-like consistency, remove from heat.
7. Ladle hot preserves into sterilized jars and seal tightly.
8. Allow to cool at room temperature, then refrigerate or process in a water bath for longer storage.
Notes
Choose ripe but firm pears for the best texture.
For extra flavor, add a splash of vanilla extract or a few slices of fresh ginger during cooking.
Properly sealed jars can be stored in a cool, dark place for up to 1 year.
- Prep Time: 15 mins
- Cook Time: 1 hr
- Category: Condiment
- Method: Stovetop
- Cuisine: American
Nutrition
- Serving Size: 1 tablespoon
- Calories: 45
- Sugar: 11g
- Sodium: 0mg
- Fat: 0g
- Saturated Fat: 0g
- Unsaturated Fat: 0g
- Trans Fat: 0g
- Carbohydrates: 12g
- Fiber: 1g
- Protein: 0g
- Cholesterol: 0mg
Keywords: pear preserves, homemade jam, fruit spread, pear jam recipe